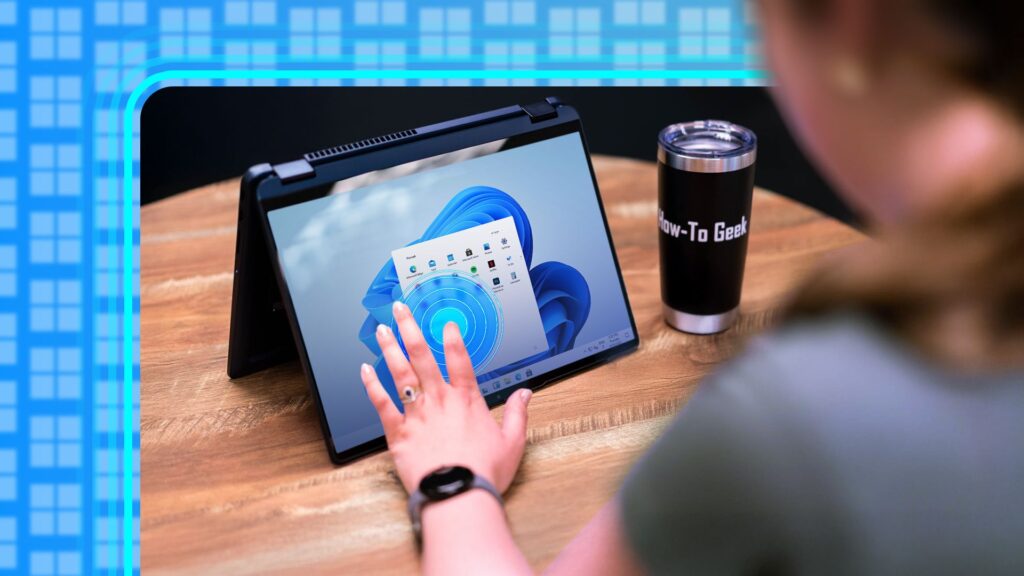
Here’s How to Make Your Windows Installation More Private
Related

The Best Hardware Security Keys of 2025

This Open-Source Project Brings the Best Part of Linux to Windows

This Portable Monitor Has an Ultra-Bright Display That I (Mostly) Loved
Sign in to your How-To Geek account

Quick Links
-
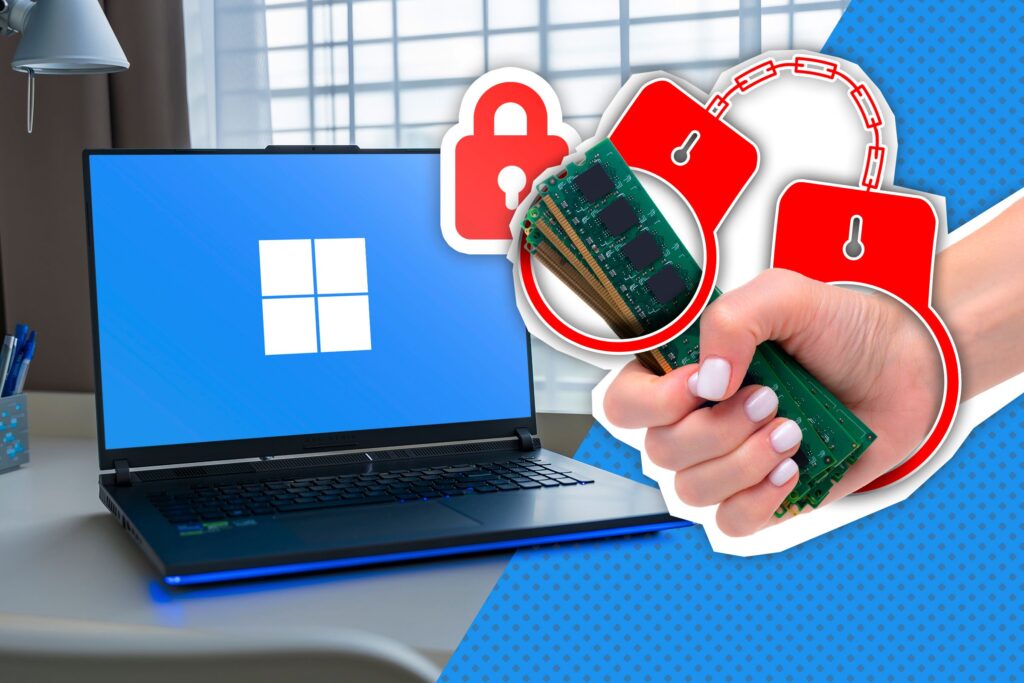
Default Windows Installations Are Terrible For Privacy
-
What You’ll Need
-
How to Create a Privacy-friendly Windows Installer
-
How To Install Windows Using The Modified ISO
Windows (by default) has become a privacy nightmare. Microsoft has made it impossible to install Windows without linking it to a Microsoft account first. Not to mention the incredibly invasive telemetry triggered during installation. Let me show you how to do an effortless and clean Windows install with a local account.
Default Windows Installations Are Terrible For Privacy
If you’re just looking to go ahead with the installation process, feel free to jump to the next section. But first, I want to talk about why we’re bothering with this setup at all.
When you log in to Windows using your Microsoft account, Windows can tie your activity directly to your identity. So absolutely anything you do on your device, the apps you download and use, what you search for in the Start menu, and your browsing activity in Edge is linked personally to you, not to your device.
Even if you use a throwaway account to log into Windows, your activity is still tied to that account, creating a unique ID to profile you. If you ever end up, say, making a payment with your credit card while logged into that account on your Xbox, they’ll connect your real identity to that profile. Or, say you ever have to recover that account, Microsoft could demand a phone number to restore your access.
With a local account, you never have to worry about account-wide tracking because all your usage data is anonymous, not profiled. Windows will still phone home but the data it can harvest and send back is limited. That’s why Microsoft is pushing online accounts so aggressively.
What You’ll Need
We need three things to make this work:
- Rufus
- The official Windows image
- A USB Drive
Rufus is a free tool for creating bootable USB drives (it basically turns your USB into an operating system installer). Ever since Microsoft started tightening the restrictions around local accounts by patching workarounds, Rufus developers have started packaging the tool with features to skip Microsoft’s invasive online account requirements and more.
You’ll also need a clean copy of the Windows installation image. The best place to get it is directly from Microsoft’s website, where it’s freely available.
Avoid downloading random ISOs from sketchy websites because they could be modified or injected with malware. I only recommend the official Microsoft website to source the ISO file.
You can choose Windows 11 or 10 (along with your preferred edition) and we’ll flash the USB with this image using Rufus. The USB stick needs at least 8GB of space. I’m using a 16GB one for this demonstration, but any old thumb drive you have lying around should do just fine.
Be sure to back up any important data you have on the drive because Rufus is going to wipe it clean before writing the ISO file to it. Also, modifying the ISO always comes with the risk of breaking some functionality. I’ve done this many times, and my installations work just fine every single time, but that risk is never zero.
How to Create a Privacy-friendly Windows Installer
Let’s start by collecting the files we need. First, head over to the official Rufus website and download the latest version of Rufus. You’ll also need to download the Windows ISO image from Microsoft’s website.
I’m on an Intel machine, so I’m using the x64 version. If your device has an ARM chip, you’ll need the ARM version. Search for system info in the Start menu and look under System Type. It should tell you if your processor is ARM-based or x64-based.
Scroll all the way down to the “Download Windows 11 Disk Image” section. Select your chosen edition from the drop-down menu. I picked the Windows 11 multi-edition file. Then click “Download” and select a language. Click “Confirm” and then “64-bit Download.”
Once the file downloads, we’re ready to create the USB installer.
Plug in your USB drive and open Rufus. Rufus will automatically detect connected drives under the Device label.

Click “Select” and load the ISO file you downloaded. You can also drag-and-drop the file directly into Rufus to load it.
Leave the rest of the settings untouched because Rufus automatically picks the right ones. If you like, you can change the volume label so it’s easy to identify among other disks.
Click “Start.” A window should pop up where you can customize your installation. Check the following settings.
- Remove the requirement for 4GB+ RAM, Secure Boot and TPM 2.0.
- Remove requirement for an online Microsoft Account
- Create a local account with the username.
- Disable data collection (skip privacy questions).
We’re removing the requirement for an online account, removing TPM and secure boot requirements, creating a local account with a simple username, and disabling data collection. Click “OK” twice.
Microsoft makes a bunch of requests during a fresh installation to enable data collection and telemetry. When we’re modifying the installer image, Rufus will disable those defaults, so you don’t have to.
Rufus will start writing to the USB. It takes around 10–15 minutes, depending on how powerful your computer and thumb drive are.
How To Install Windows Using The Modified ISO
Now we’re ready to install Windows. Plug the USB into the target computer and enter the one-time boot menu. Every manufacturer has its own shortcut key for entering the temporary boot menu, but usually it’s one of the function keys.
I booted from the USB, and it dropped me into the Windows 11 setup. From here on out, the setup wizard will guide you through the installation. You just have to pick the language, the Windows edition, and the drive where Windows will be installed.
My target computer only has a single drive, which I’m erasing for the fresh installation.
Then you just click “Install” and wait for the process to complete. The computer will reboot a couple of times, but you don’t need to touch it until the setup finishes.
On the first boot, Windows will ask you to pick your region and keyboard layout. It might ask you to connect to Wi-Fi too, but after that it’ll drop you directly on the desktop. Note that you already have a local account with the username you gave to Rufus.
With that, we’ve completed the installation without even interacting with the telemetry or online account screens. If you miss the simplicity of old-school Windows installations, give Rufus a try.
Follow
Followed
Share
Readers like you help support How-To Geek. When you make a purchase using links on our site, we may earn an affiliate commission. Read More.
“Hey there, just a heads-up: We’re part of the Amazon affiliate program, so when you buy through links on our site, we may earn a small commission. But don’t worry, it doesn’t cost you anything extra and helps us keep the lights on. Thanks for your support!”