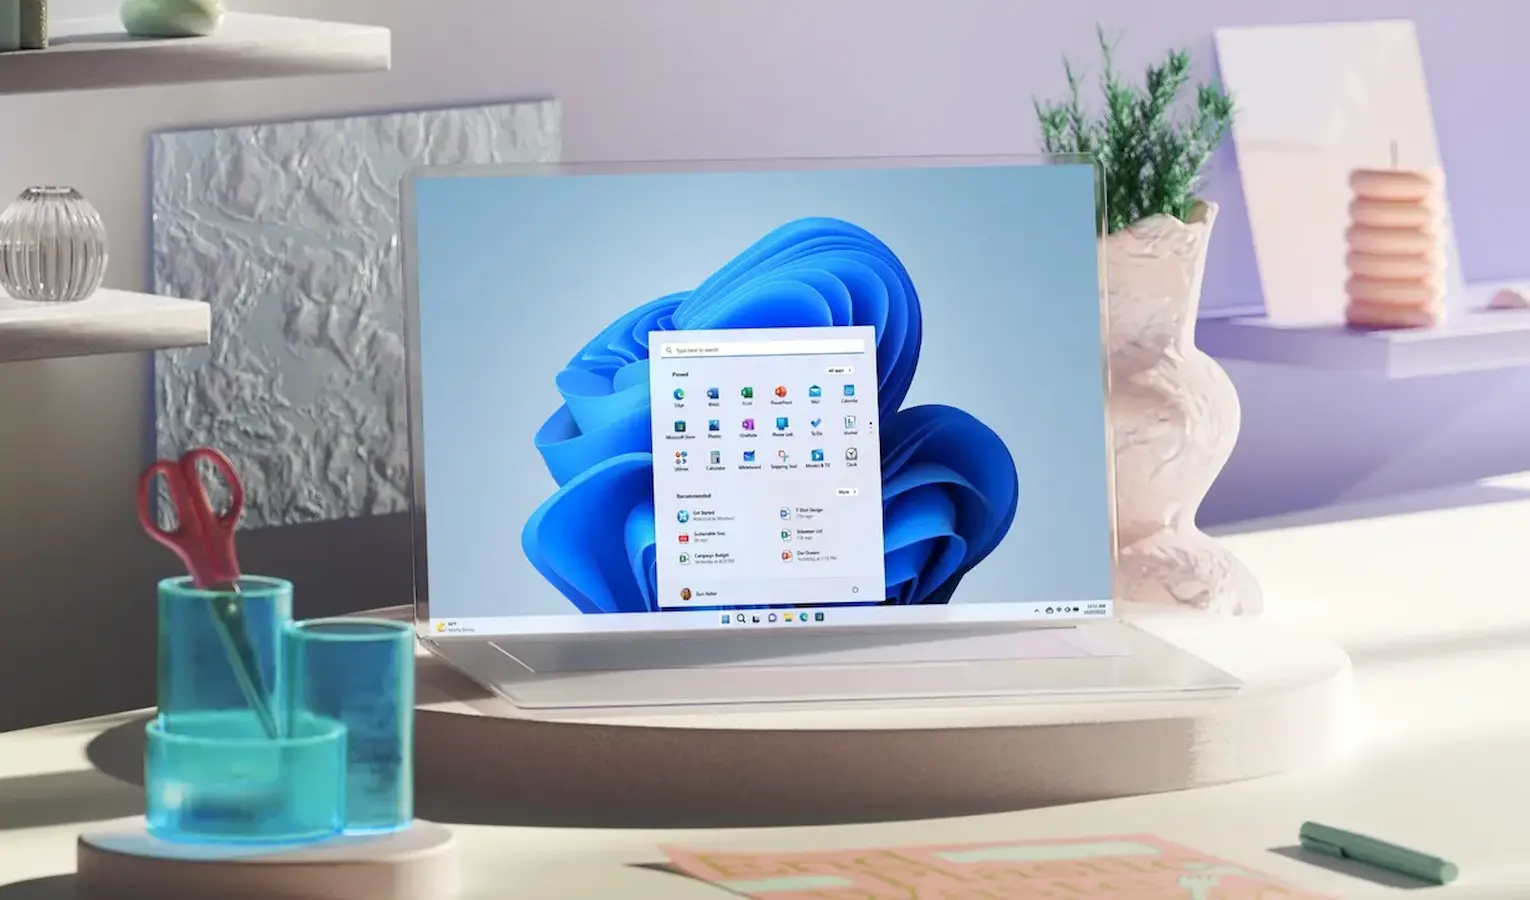
Windows 11 updates can sometimes take as much as 15GB of storage space on your device. Whenever a Windows update is available, many things are going on in the background.
The update tool downloads the updates and stores the files in a specific location for installation. If you choose to install the updates, Windows 11 will still keep the old files for rollback.
Such things can quickly use up your disk space; hence, it’s recommended to periodically clear the update cache on Windows 11. Clearing the update cache will definitely free up some handsome storage space on your computer.
1. Clear Update Cache Manually
Manually clearing the update cache is the easiest option, especially if you don’t feel comfortable using tools or the command line. Here’s how to do it manually on Windows 11.
1. Press the Windows Key + R button on your keyboard. On the RUN dialog box, type services.msc and press Enter.

2. Find Windows update Service and double click on it.
3. On the Windows Update Properties, click Stop.
![]()
![]()
4. Next, press the Windows Key + R button again to open the RUN dialog box.
5. This time, copy & paste this path and click OK.

6. On the SoftwareDistribution folder, press CTRL + A button to select all files. Once selected, right click and select Delete.

7. After deleting the files, empty the recycle bin.
8. Next, press Windows Key + R to open the RUN dialog box. Type services.msc and press Enter.
9. Find the Windows Update service and double click on it. On the Service Status, click Start.

2. Clear Update Cache on Windows 11 With Disk Cleanup Tool
You can also utilize the Disk Cleanup tool on Windows 11 to clear the update cache. Here’s how to use the Disk Cleanup utility to clear the Update Cache.
1. Type Disk Cleanup on the Windows 11 Search. Next, open the Disk Cleanup app from the list of Best Match results.

2. On the Disk Cleanup opens, click Clean up system files.

3. Uncheck all selected options first and then check the ‘Windows Update Cleanup’

4. Once done, click on OK.
5. On the Confirmation prompt, select Delete Files.
3. Clear Windows Update Cache Using Command Prompt
If you’re comfortable operating the command line tools, you can use the Command Prompt to clear the Windows Update Cache. Here’s what you need to do.
1. Type CMD in the Windows 11 Search. Next, right-click on CMD and select Run as administrator.

2. When the Command Prompt opens, execute these two commands to stop the Windows Update Service.
- net stop wuauserv
- net stop bits

3. After executing the two commands, run this command.
cd %windir%SoftwareDistribution

4. Once done, execute this command to delete the Windows Update Cache.
del /f /s /q *.*

5. After deleting the Windows Update cache, you need to start the Windows Update Services again. To do so, execute these two commands one by one.
- net start wuauserv
- net start bits
4. Create a Script to Clear Windows Update Cache
If you want a quicker way to clear your update cache, it’s best to make a batch file out of commands. Whenever you want to free up disk space, just run this batch file. Here’s what you need to do.
1. Open Notepad on your Windows 11 PC.

2. Copy the script shared below and paste it into Notepad.
net stop wuauserv
net stop bits
cd %windir%SoftwareDistribution
del /f /s /q *.*
net start wuauserv
net start bits

3. Next, select File > Save from the Menu bar.

4. On the Save As Window, select Desktop. Enter a name of your choice in the File name field, then append .bat to the end of the file name. On the Save as type drop-down, select All Files and click Save.

5. The batch file will be created on your desktop. When you want to run it, right-click the Batch File and select Run as administrator.
These are a few simple ways to clear your update cache on Windows 11. If you need more help clearing your update cache, let us know in the comments. Also, if you find this guide helpful, share it with others.
“Hey there! Just so you know, we’re an Amazon affiliate. This means if you buy something through our links, we may earn a small commission. It doesn’t cost you extra and helps keep our lights on. Thanks for supporting us!”