OpenAI has officially made ChatGPT image generation free for all users. This update means anyone using ChatGPT-4o can now create AI-generated images without needing a premium subscription.
Now that the image generation is available in the free plan, people have been using it to generate images in the style of Studio Ghibli animation.
ChatGPT Photo Library
OpenAI knows that its users have been generating images for a while. Hence, it has introduced a new image library feature.
The ChatGPT Photo Library is a feature that helps you keep track of all AI generated images in one place.
This means you won’t have to scroll through the ChatGPT chats to find the images you’ve generated. The Photo Library offers a visual grid that displays all your AI-generated content in one place
How Does the Image Library Feature of ChatGPT Work?
You don’t need to enable any settings or subscribe to ChatGPT Plus to access this feature. The newly added ‘Library’ section appears in the sidebar of ChatGPT’s interface.
1. Launch your favorite web browser and access ChatGPT. Log in with your account.
2. Once logged in, look at the right sidebar. A new ‘Library’ section will appear.
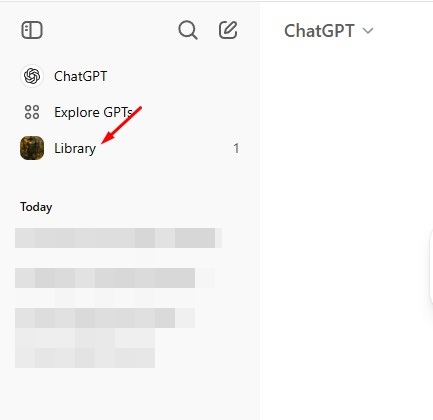

3. Click on the Library section to see a visual grid of all the images you’ve generated until now.
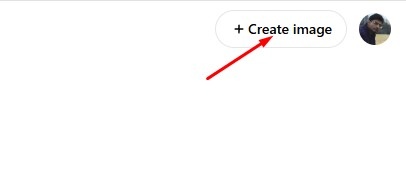
4. If you want, you can generate a new image from this screen. For that, click the (+ Create Image) button at the top right corner.

5. Clicking the image will also give you the editing options.
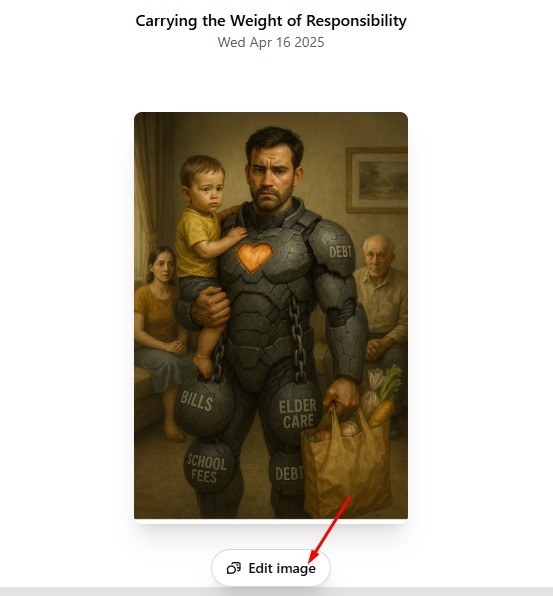

The ‘Edit’ button will link back to the original chat where the image was originally generated.
This guide explains how to use the new Photo Library feature of ChatGPT. If you need more help with this topic, let us know in the comments. Also, if you find this guide helpful, don’t forget to share it with your friends.
“Hey there! Just so you know, we’re an Amazon affiliate. This means if you buy something through our links, we may earn a small commission. It doesn’t cost you extra and helps keep our lights on. Thanks for supporting us!”


